![]()
|
|
|
|

This page was created to show the processes in creating a project from inception to completion. The example used is a 12 ft. built in entertainment center.
![]()
![]()
![]()
![]()
![]()
![]()
![]()
Step #1 (Start)
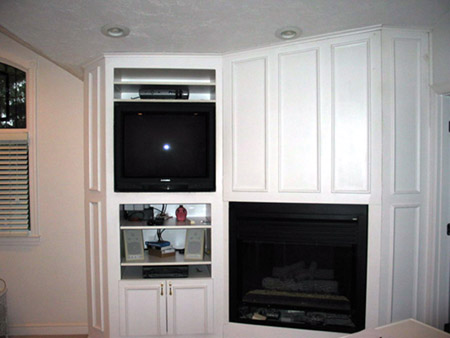
An appointment is made with the client to view the site. At this meeting all measurements and notes are taken. The types of materials, construction & budget are also discussed. For this project the client wanted to add a large screen TV, also cabinetry would be added above and to the right of the fireplace. The old unit was constructed of painted boards with a lot of open joints and exposed nail holes.
Step #2
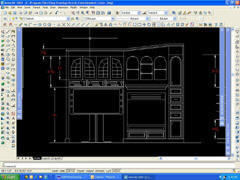
After all final site measurements are taken, a first draft computer drawing is made. This is where the new design is created, giving me the ability to verify all dimensions and angles of the project. All audio and video components are placed and checked for proper fit. A second appointment is now made for the customer to view plans, make changes if needed and give the final approval for construction to begin.
Step #3
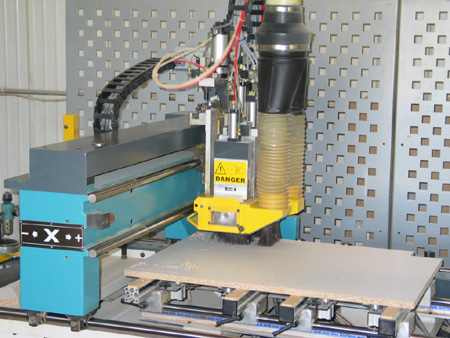
The construction phase has begun. A cut list of parts is created from the computer drawings. The parts are machined and prepared for assembly.
Step #4
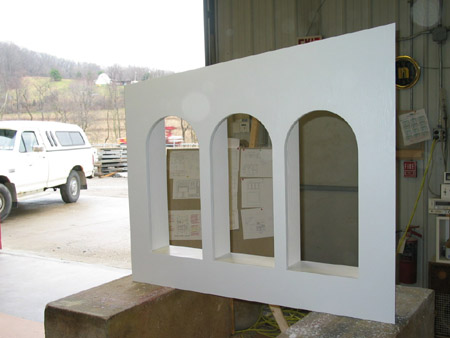
The assembly phase has now begun. This unit will be located above the fireplace. Halogen lighting and mirrors will be placed in the three arches for display purposes. The client will now have a beautiful display area whereas this space was not utilized in the old unit.
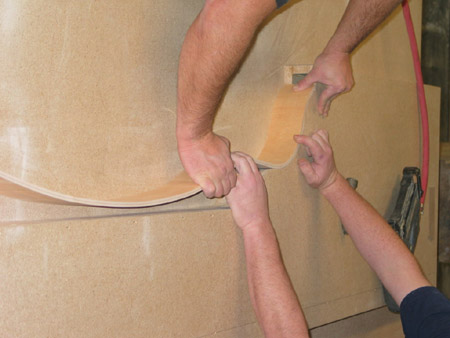
Step #5
All parts are fabricated from scratch by our skilled craftsmen.
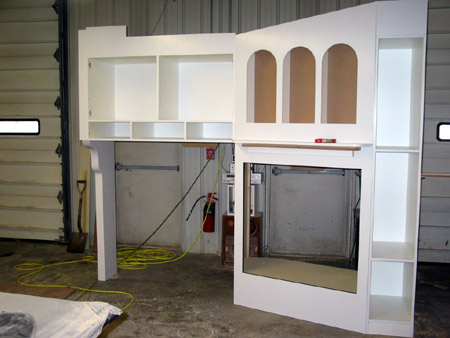
Step #6
The fabrication process is almost complete. The unit will soon be ready for installation. Note the side cabinet on the right of the unit. This section of cabinetry was not present in the old layout. Drawers and shelving will be installed to store audio and video media.
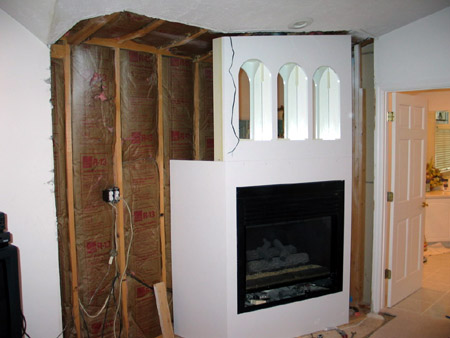
Step #7
The project has been delivered to the jobsite and the installation will now begin.
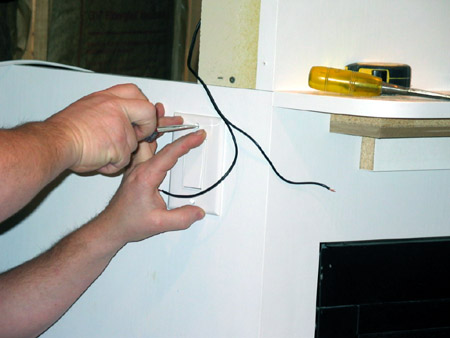
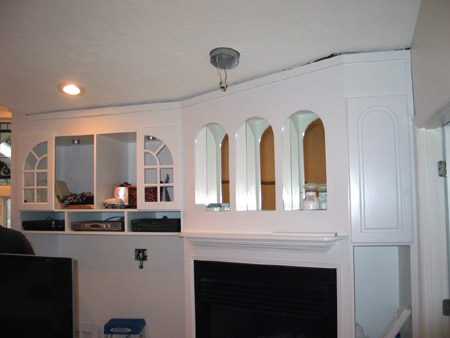
Step #8
All electrical wiring for lighting is installed.
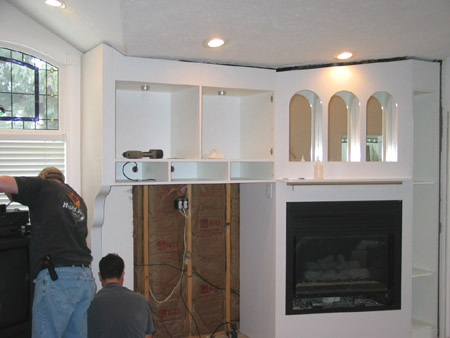
Step #9
The installation process is nearing completion. Last minute audio & video hookups are made before the wall is closed in.
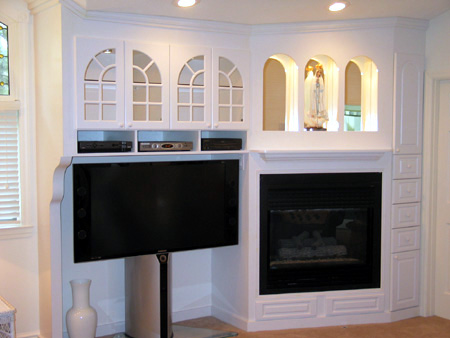
Step #10
Doors, drawers and trim moldings are now being installed. Also there was a mantel added above the fireplace.
Step #11 (Finish)